LC1D Replacement: Four Things That Must Match Before You Swap
Published: Author: Rachel
If you are already running LC1D contactors in a panel and looking for a second source, the question is not whether an alternative will fit — most will, physically. The question is which four things have to match before it does, and which of them the datasheet will not tell you.
An LC1D replacement guide that starts with the rating that actually governs a swap, the coil and auxiliary details that catch most buyers, the mechanical dimensions that decide whether the unit goes into the existing cutout, and a sample checklist to run before committing to a batch. It is written for panel builders and distributors replacing an LC1D-compatible frame, not for someone choosing a contactor from scratch.
Model designations cited in this article are used solely to describe electrical and mechanical compatibility. They remain the property of their respective owners, and no affiliation is claimed or implied.
What Has to Match on an LC1D Replacement
Four parameters decide whether a substitute works. Three of them are on the nameplate. The fourth is not, and it is the one that causes most failed retrofits.
Parameter
Where to find it
What happens if it is wrong
AC-3 rated current and utilisation category
Nameplate or datasheet
Contact erosion or welding under motor load; the unit may still “work” for months
Coil voltage, type (AC or DC) and pick-up consumption
Nameplate on the coil, or the control circuit drawing
Contactor chatters, fails to pick up, or overloads the control transformer
Pole count and auxiliary contact configuration
Nameplate plus a physical count of side-mounted blocks
Control logic stops latching; interlock circuits lose their feedback contact
Mechanical envelope: mounting pitch, depth, terminal direction
Only a drawing or the physical unit
Unit does not fit the cutout, or the door will not close
The first three can be settled by email. The fourth cannot, which is why a swap without a sample is a gamble even when every number matches.
AC-3 Is the Only Current Rating That Matters for a Swap
A contactor carries at least two current figures worth knowing: the thermal current (Ith), which describes continuous carry capability, and the AC-3 rated operational current, which describes switching a squirrel-cage motor during normal running. The thermal figure is usually larger and more prominently printed, and it is the wrong number to match on.
AC-3 is defined in IEC 60947-4-1 as making and breaking a motor while it is running, with the contactor breaking roughly the motor’s rated current at about a fifth of supply voltage. That is the duty a motor starter actually imposes. A replacement that matches on thermal current but sits a frame size lower on AC-3 will still switch the motor — until the panel starts cycling it dozens of times a day on a heavy load.
When you compare an existing LC1D unit against a candidate replacement, put both AC-3 figures side by side at the same rated operational voltage. If a supplier quotes only one current number, ask which one it is. This is the same distinction covered in our guide to coil voltage and AC-3 rating, and it matters more in a retrofit than in a new design, because you cannot re-size the motor to suit the contactor.
The Coil Is Where Most Swaps Go Wrong
The coil is the cheapest part of the contactor and the most common cause of a failed substitution. Three details have to line up.
Voltage and type
A 24 V DC coil and a 220 V AC coil are not interchangeable, and the difference is not cosmetic. A DC coil on an AC control circuit will not hold reliably; an AC coil on a DC supply will draw the wrong current and can overheat. Read the coil marking on the existing unit rather than assuming from the panel voltage.
Pick-up and holding consumption
Two coils at the same voltage can draw different inrush and holding currents. If the existing control circuit runs a small transformer or is fed from a PLC output, a replacement coil with higher consumption can brown out the control supply at the moment of pick-up — the contactor then chatters and welds. Ask for the coil’s inrush (VA) and holding (VA or W) figures, not just the voltage.
Terminal position and coil feed direction
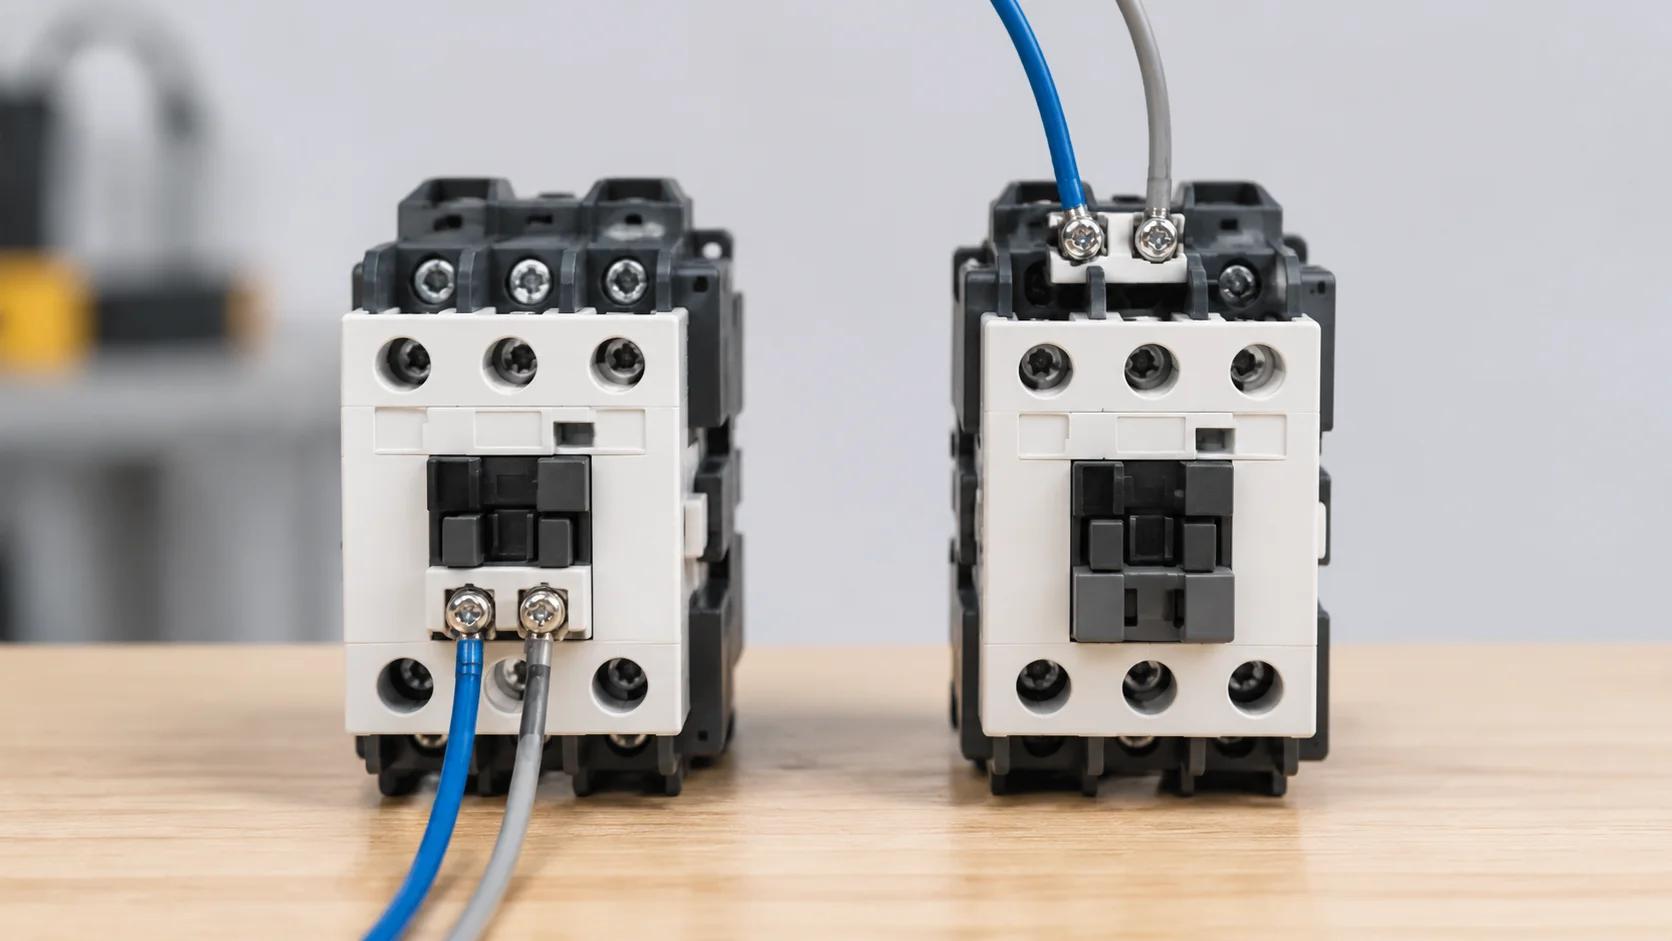
On some frames the coil terminals sit at the front, on others at the top or side. In a panel with short, dressed control wires, a different terminal position means re-terminating the control circuit. This is a fifteen-minute job in a workshop and a two-hour job in a live plant, so check it before ordering.
Matching the Frame by AC-3 Current
The reliable way to find a replacement is to work from the AC-3 current on the existing nameplate and match it to a frame that covers that current. The SMO-K range is organised in five AC-3 steps:
Frame
AC-3 current range
Coil options
Poles
SMO-K 09A-18A
9 A – 18 A
24 V DC standard; other DC voltages to order
3P standard, 4P available
SMO-K 25A-38A
25 A – 38 A
24 V DC standard; other DC voltages to order
3P standard, 4P available
SMO-K 40A-65A
40 A – 65 A
24 V DC standard; other DC voltages to order
3P standard, 4P available
SMO-K 80A-95A
80 A – 95 A
24 V DC standard; other DC voltages to order
3P standard, 4P available
SMO-K 115A-150A
115 A – 150 A
24 V DC standard; other DC voltages to order
3P standard, 4P available
For any LC1D replacement, match on the AC-3 figure rather than on the model number printed on the old unit. Model designations are not a reliable cross-reference across brands, because two manufacturers can use similar numbering for frames that differ by a whole current step. Confirm the AC-3 rating and the utilisation category against your motor, and treat any claimed “direct equivalent” as unverified until you have the AC-3 figure in writing.
Four Things That Go Wrong After an LC1D Replacement
These are the failure modes that appear in the weeks after a retrofit, not at commissioning, which is why they are easy to miss on a bench test.
Depth clearance. A frame that is a few millimetres deeper fouls the enclosure door or the wire duct behind the mounting plate. Measure depth from the DIN-rail seating face, not from the body centre.
Auxiliary contact position. Side-mounted blocks do not always sit at the same height. A replacement whose auxiliary block sits lower can collide with an adjacent device on the rail.
Terminal screw access. Some frames place the main terminals closer to the body edge, which changes the bending radius available for large incoming cables. On a 95 mm² cable this is the difference between a clean termination and a strained one.
Arc chute venting. If the replacement vents differently, the required clearance to an adjacent live part may change. In a densely packed panel this is a safety issue, not a convenience one.
None of these show up in an electrical test. All of them show up on site, after the panel is closed.
What to Check on a Sample Before Ordering a Batch
A sample evaluation for a retrofit takes about an hour and settles everything the datasheet cannot. Run it in this order:
Confirm the AC-3 figure in writing. Not the thermal current, and not “equivalent to” a competitor’s model.
Energise the coil at your actual control voltage. Watch for clean pick-up and drop-out, and listen for chatter at the low end of the tolerance band.
Operate every auxiliary contact. Confirm NO and NC behave as marked, and that the configuration matches your control drawing.
Fit it to the rail in a mock-up. Check mounting pitch, depth to the door, and clearance to neighbouring devices.
Terminate the largest cable you will use. Confirm the lug or ferrule seats without strain and the screw is accessible with the tool you actually carry.
Ask what the routine test record contains. A unit that was individually tested can be described in sequence; a sampled batch usually cannot.
If the supplier cannot answer the last point in specifics, that is itself information. The checks each unit goes through before packing are worth reading before you send a sample request, because it tells you what to ask for.
Is a Cheaper Alternative Worth the Swap?
A retrofit is usually driven by price, availability, or a customer demanding a second source. All three are legitimate reasons, but they change what “cheaper” means. If the replacement is going into a panel that cycles heavily, the relevant comparison is not unit price against unit price — it is contact life against contact life, and that follows the silver mass on the tips far more than it follows the brand.
The framework for reading two quotations side by side, including what a low unit price typically trades away, is set out in the AC contactor price comparison guide. It is worth reading before you shortlist, because a swap that saves 30% on the unit and loses a year of contact life is not a saving.
Frequently Asked Questions
Can I replace an LC1D contactor with a different brand?
Usually yes, provided the AC-3 rating, coil voltage and type, pole and auxiliary configuration, and mechanical envelope all match. The rating that governs the swap is AC-3 at your rated operational voltage, not the thermal current or the model number.
Is a higher current rating always a safe substitute?
Electrically it is generally safe to go up a frame, but it is often not physically possible. A larger frame changes the mounting pitch, the depth, and the terminal spacing, and it may not fit the existing cutout or leave room for the door. Over-sizing also costs more for no benefit if the duty does not require it.
Do I need to change the thermal overload relay when I swap the contactor?
Not necessarily, but the relay’s setting range must still bracket the motor’s full-load current, and its mounting must suit the new contactor if it is a directly-mounted type. A directly-mounted relay is matched to a specific frame, so a frame change usually means a new relay or a separate mounting.
What if the replacement coil draws more current than the original?
Check the control circuit’s capacity first. If the coil is fed from a small control transformer or a PLC output, a higher inrush can drag the supply down at pick-up and cause chatter. Ask for inrush and holding figures in VA, not just the coil voltage.
How long should a sample evaluation take?
About an hour for a straightforward frame: half of it on the electrical checks and half on the mechanical fit. The mechanical half is the one that cannot be skipped, because depth and terminal access are the two dimensions that most often differ from the drawing.
The short version: a swap is an electrical decision and a mechanical one, and only the second one needs the part in your hand. Get the AC-3 figure in writing, then fit a sample before you commit to a container.
Most guides about buying from a Chinese factory stop at how to choose the supplier. This one starts where those guides end: the purchase order has been agreed, and the next six weeks decide whether the shipment arrives as specified or arrives with a problem nobody can fix from the other side of the world. […]
You send one specification to four suppliers. Three of them quote a 40 A, three-pole AC contactor for a 24 V DC coil. The quotes come back at prices that differ by nearly 40%. Nothing is wrong with your enquiry, and the cheapest supplier is not automatically cutting corners. In most cases the four quotes […]
What an MCB Supplier Should Confirm Before Quoting Miniature circuit breakers are the easiest low-voltage component to order and the easiest to order badly. Unit prices are low, lead times are short, and the range looks simple: a current rating, a pole count, a trip curve. The specification that matters is rarely written on the […]